The Process Thus Far
A quantity of well stained serial sections was obtained for nearly nothing. The slides so far have suffered greatly, some catastrophe reducing their original mountant to a crackling obscure matrix secured under a cover glass yet utterly unsuited for microscopy. Softened by a period in turpentine the fouled mountant was dissolved enough for the original cover to be stripped from the preparation. Thus exposed, the remaining mountant was washed from the sections with further turpentine. Now an essentially new specimen has only to be mounted.
Considerations
Serial sections are laid out according to various conventions and generally in a way so as to fit beneath covers of any of a half dozen readily available sizes. When the original covers were removed they might have easily been retained and reused after a thorough cleaning. In this instance the cover slips were simply placed into a jar with all manner of other cover slips which are being retained until such time as the author forgets about them or gets around to cleaning them. If the sizes were uncommon or otherwise not available it would have been a different manner. Any cover glass removed that was observed to be in any way damaged during removal should of course not be used for mounting again.
When selecting new cover slips one should consider size above all else; size matters. Size of course referring not only to the dimensional area of the cover slip but to the thickness (or gauge number) as well. One should select a cover slip so as to protect as much of the specimen as possible without covering an excessive amount of empty space and having a thickness corresponding to that for which the objectives likely to be used are corrected∗. Nearly every slip required a #2 cover slip measuring 24mm by 50mm.
Working with large cover slips can be a great challenge. The large size renders them more easily broken in measuring, cleaning, and general handling. One need only break a couple to get the necessary feel for it. Fragility aside, if they are not often used one will have a considerably harder time at applying a sufficient but not excessive amount of mountant than one will have when using a more familiar size. If too much mountant is applied one will find that air bubbles will more easily get in. In part this may be overcome by using a more viscus mountant and applying it over a thin film of solvent on the surface of the specimen.
One must also select a mountant which is suited to the specimen. Stained sections prepared in a laboratory setting often make use of a mountant which is convenient rather than one which is permanent. Convenience may mean the mountant is rapidly cured or particularly well suited for showing the structures looked for. Before selecting a mountant ensure that the solvent used in removing the previous mountant is miscible in that which one would choose. If it is not one will need to get the slips into that solvent by degrees to avoid damage to the specimen and ensure proper penetration. Turpentine being miscible in balsam meant that this tried and true mountant was a logical choice.
Mounting
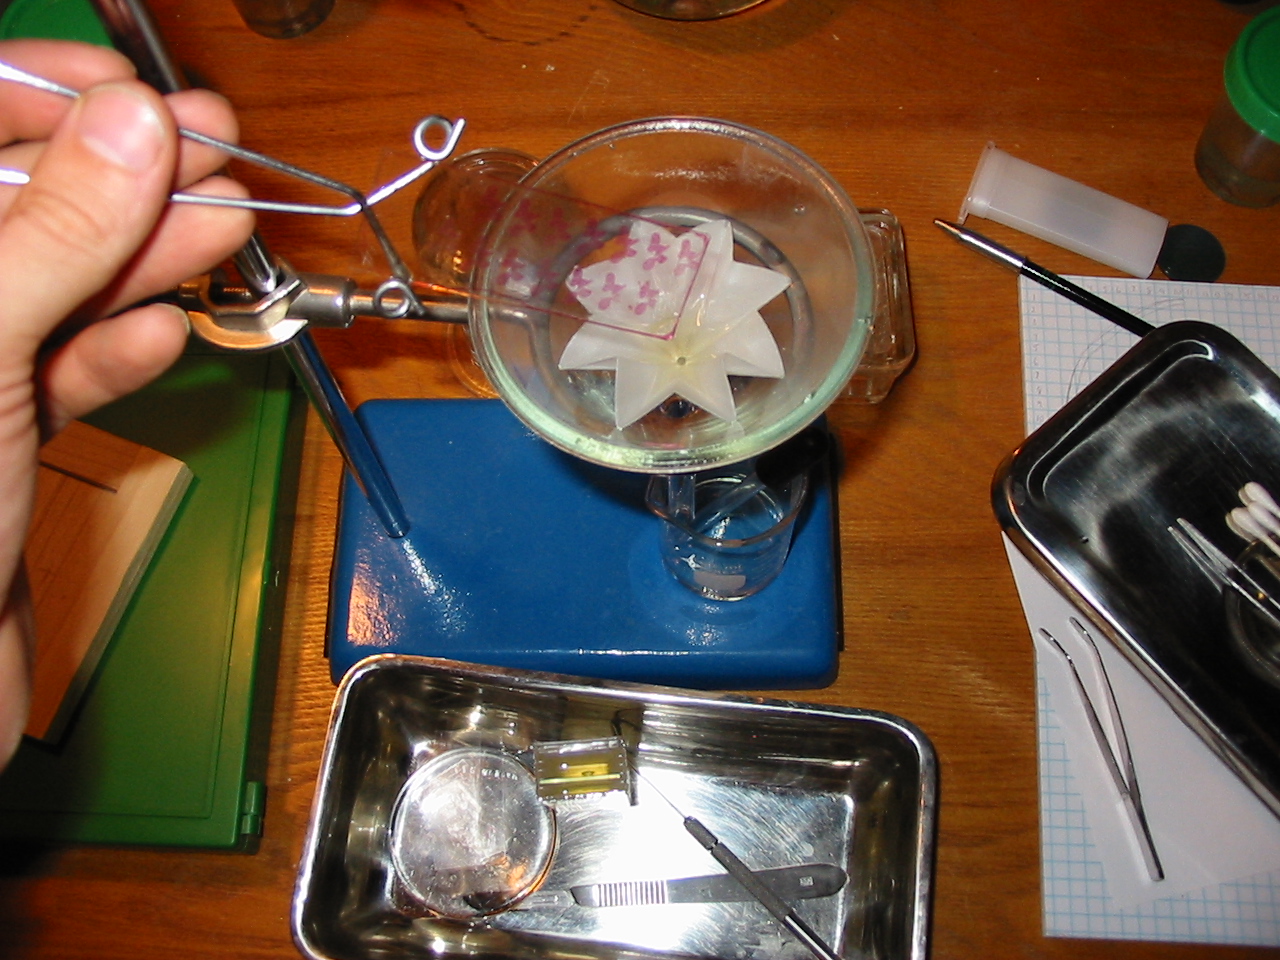
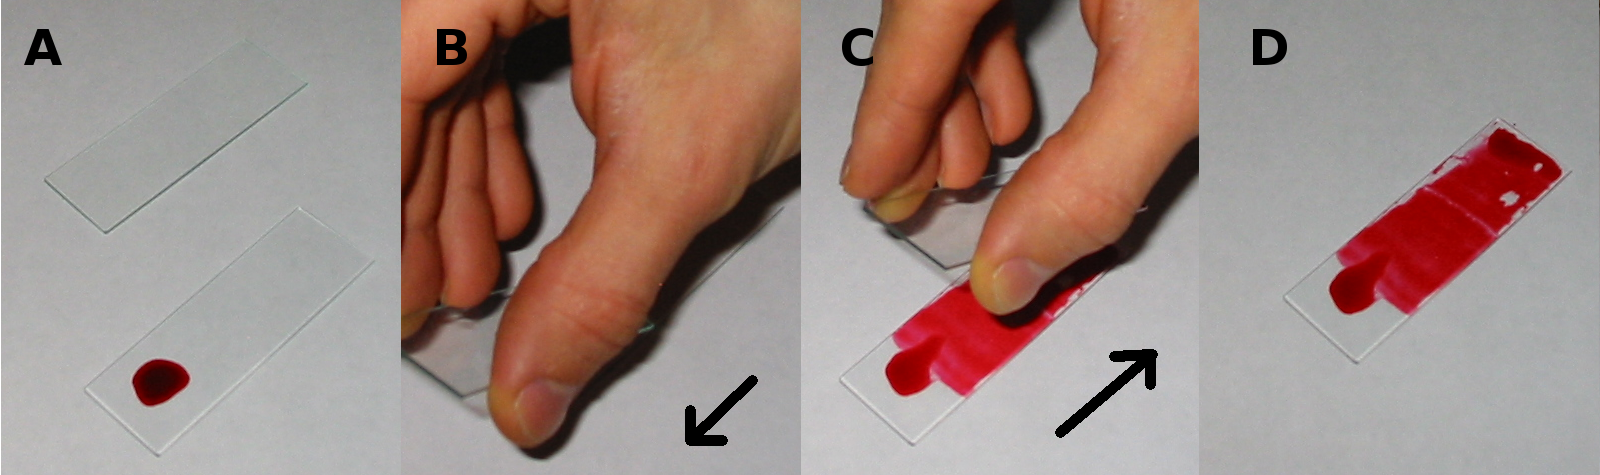
The process for mounting the reclaimed slip anew is precisely that used for any mount. Ensuring that the specimen does not dry out, but is not flooded with excess clearer, place it on a low temperature warming table, or draw it over (but not through) a burner to warm it. Place then upon the slip a quantity of mountant and permit it to rest somewhat, allowing the mountant time to spread out but always ensuring that the specimen is not permitted to dry out. After a minute or so use a cover glass forceps to place a well cleaned cover glass upon the surface of the mountant. If just the right amount of mountant was used one may count on the cover glass alone for weight and may set the slide aside or into a cool oven to cure.
In general practice one may be sure that too much† mountant was applied. This eventuality requires that steps be taken to ensure that the cover glass lays securely in place and is uniformly flat. If steps are not taken one may find that one side of the cover is significantly higher than the other. Place the slide into a cool oven or upon a warming table and permit it to stand for an hour. After this time one may be reasonably sure that the mountant is marginally more dense but still quite fluid. Place upon the center of the cover a small weight corresponding to the shape of the cover and return it to the warming table or oven. After a quarter hour check upon the slide to ensure that the cover slip has not displaced. If it has far too much mountant was used, or the oven (or warming table) is not level, and one will need to slowly but smoothly reposition the cover.
When the slide has cured it is a simple matter to clean any exuded mountant.
Results
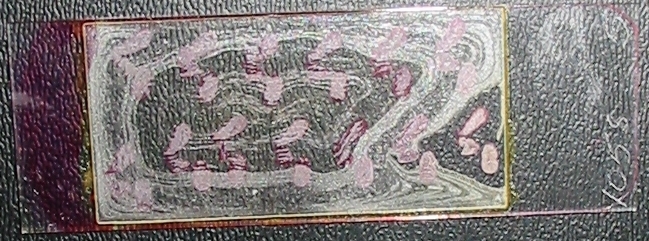
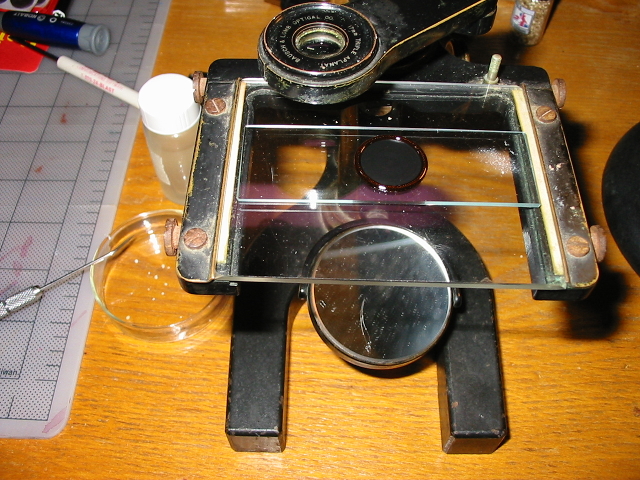
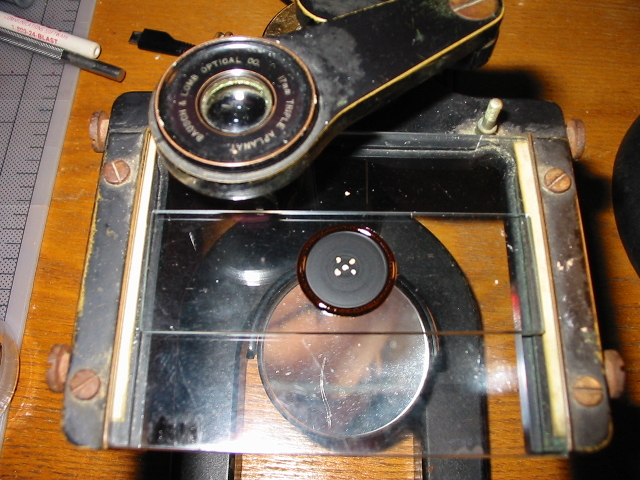
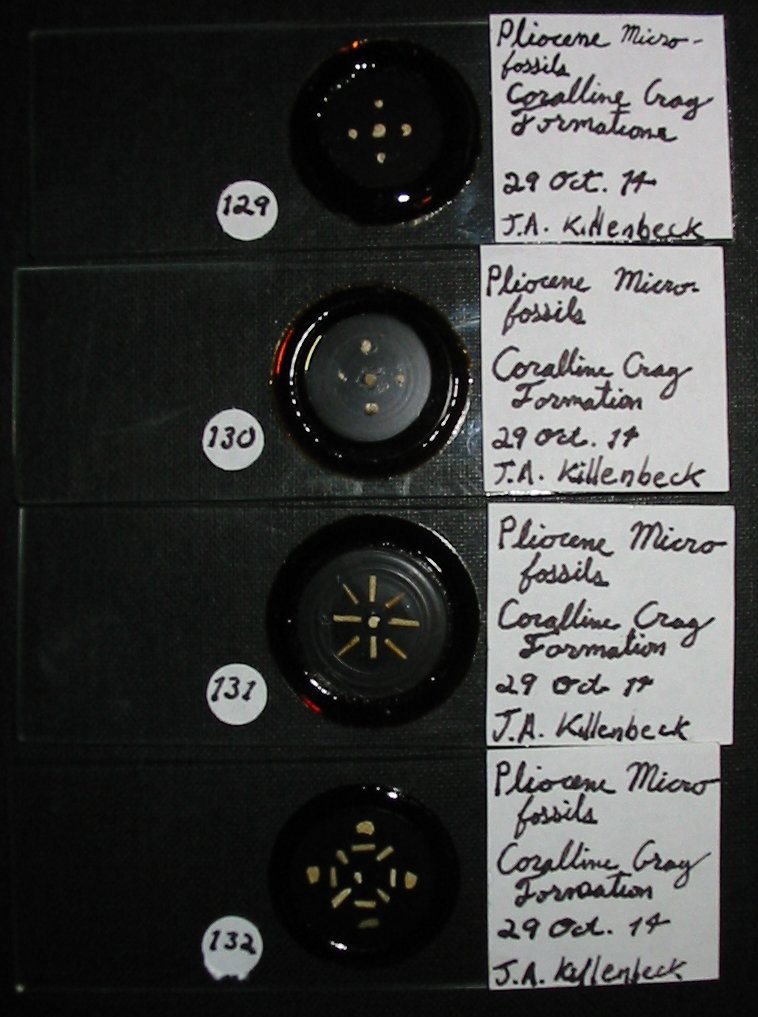
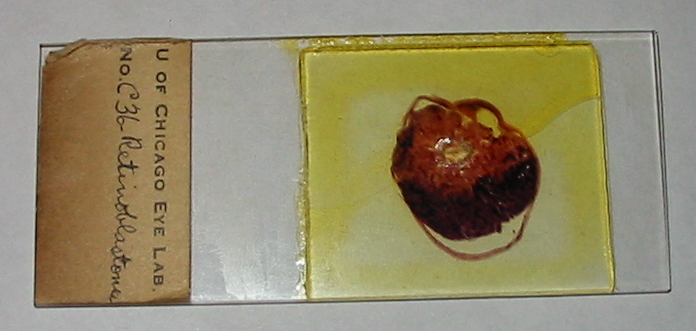
In part I of this series we saw a representative example of one of the damaged slides, so badly degraded as to be entirely useless for microscopy. Permit then a look at it now, and yes it is indeed the same slide; note the engraved number.

This slide might look familiar.
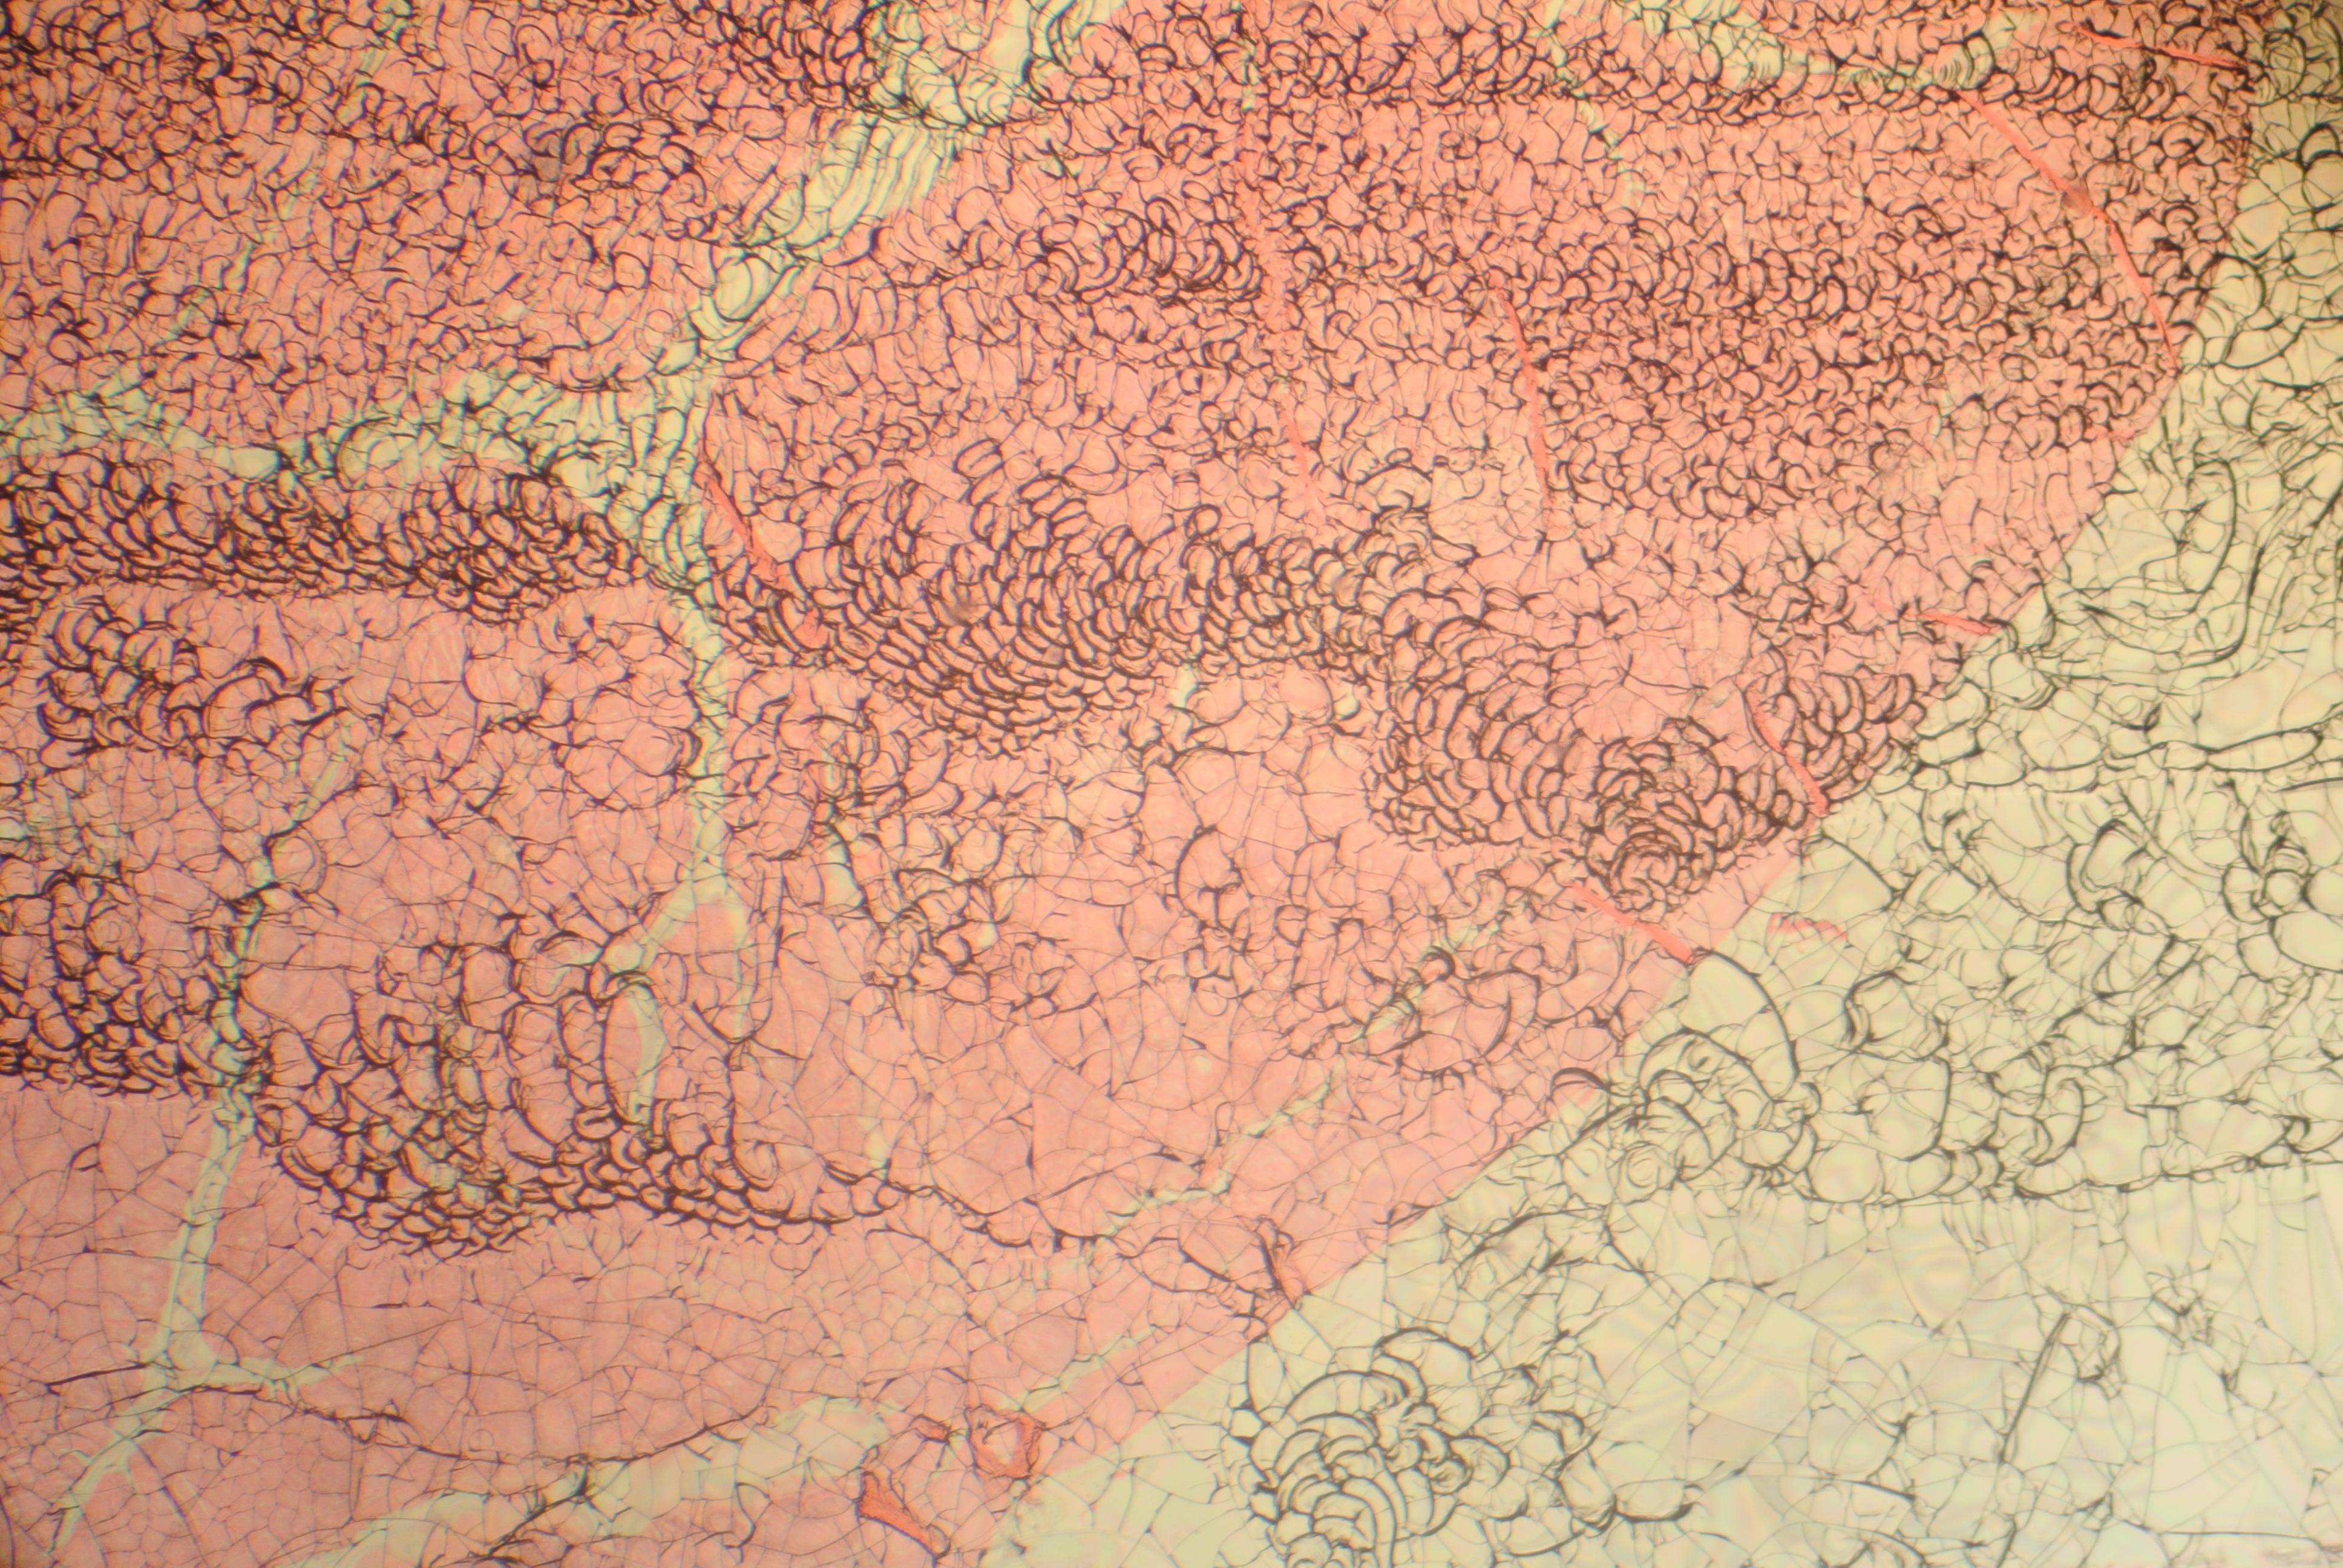
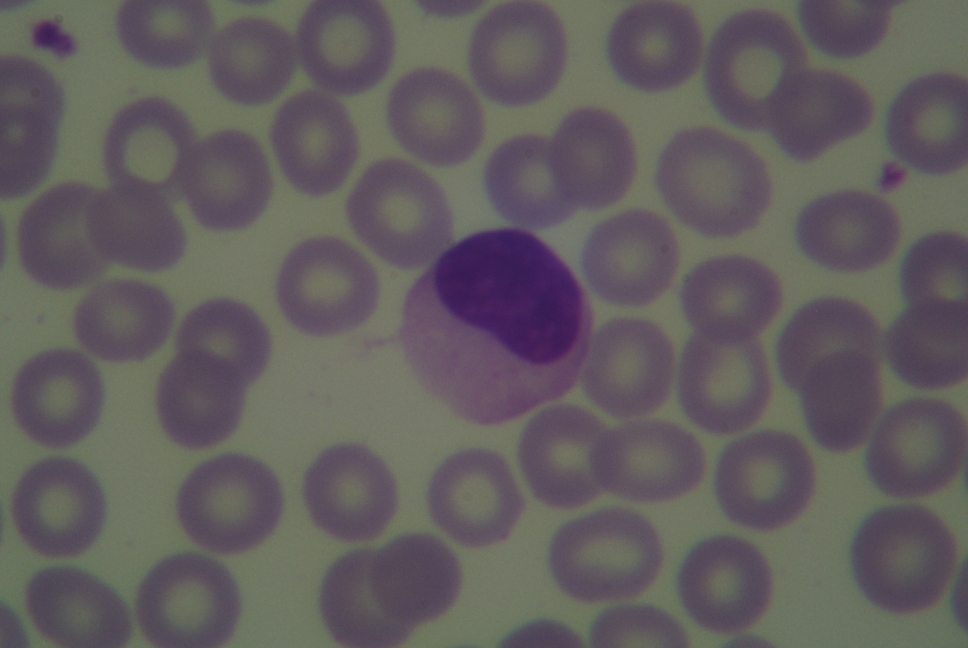
A quick look with the microscope shows that in spite of the severity of the damage shown in the old mountant, the specimen came out unscathed. Any small particles of the old mountant which were not removed will be immediately apparent but one might always repeat the process if one was not scrupulous in their cleaning.
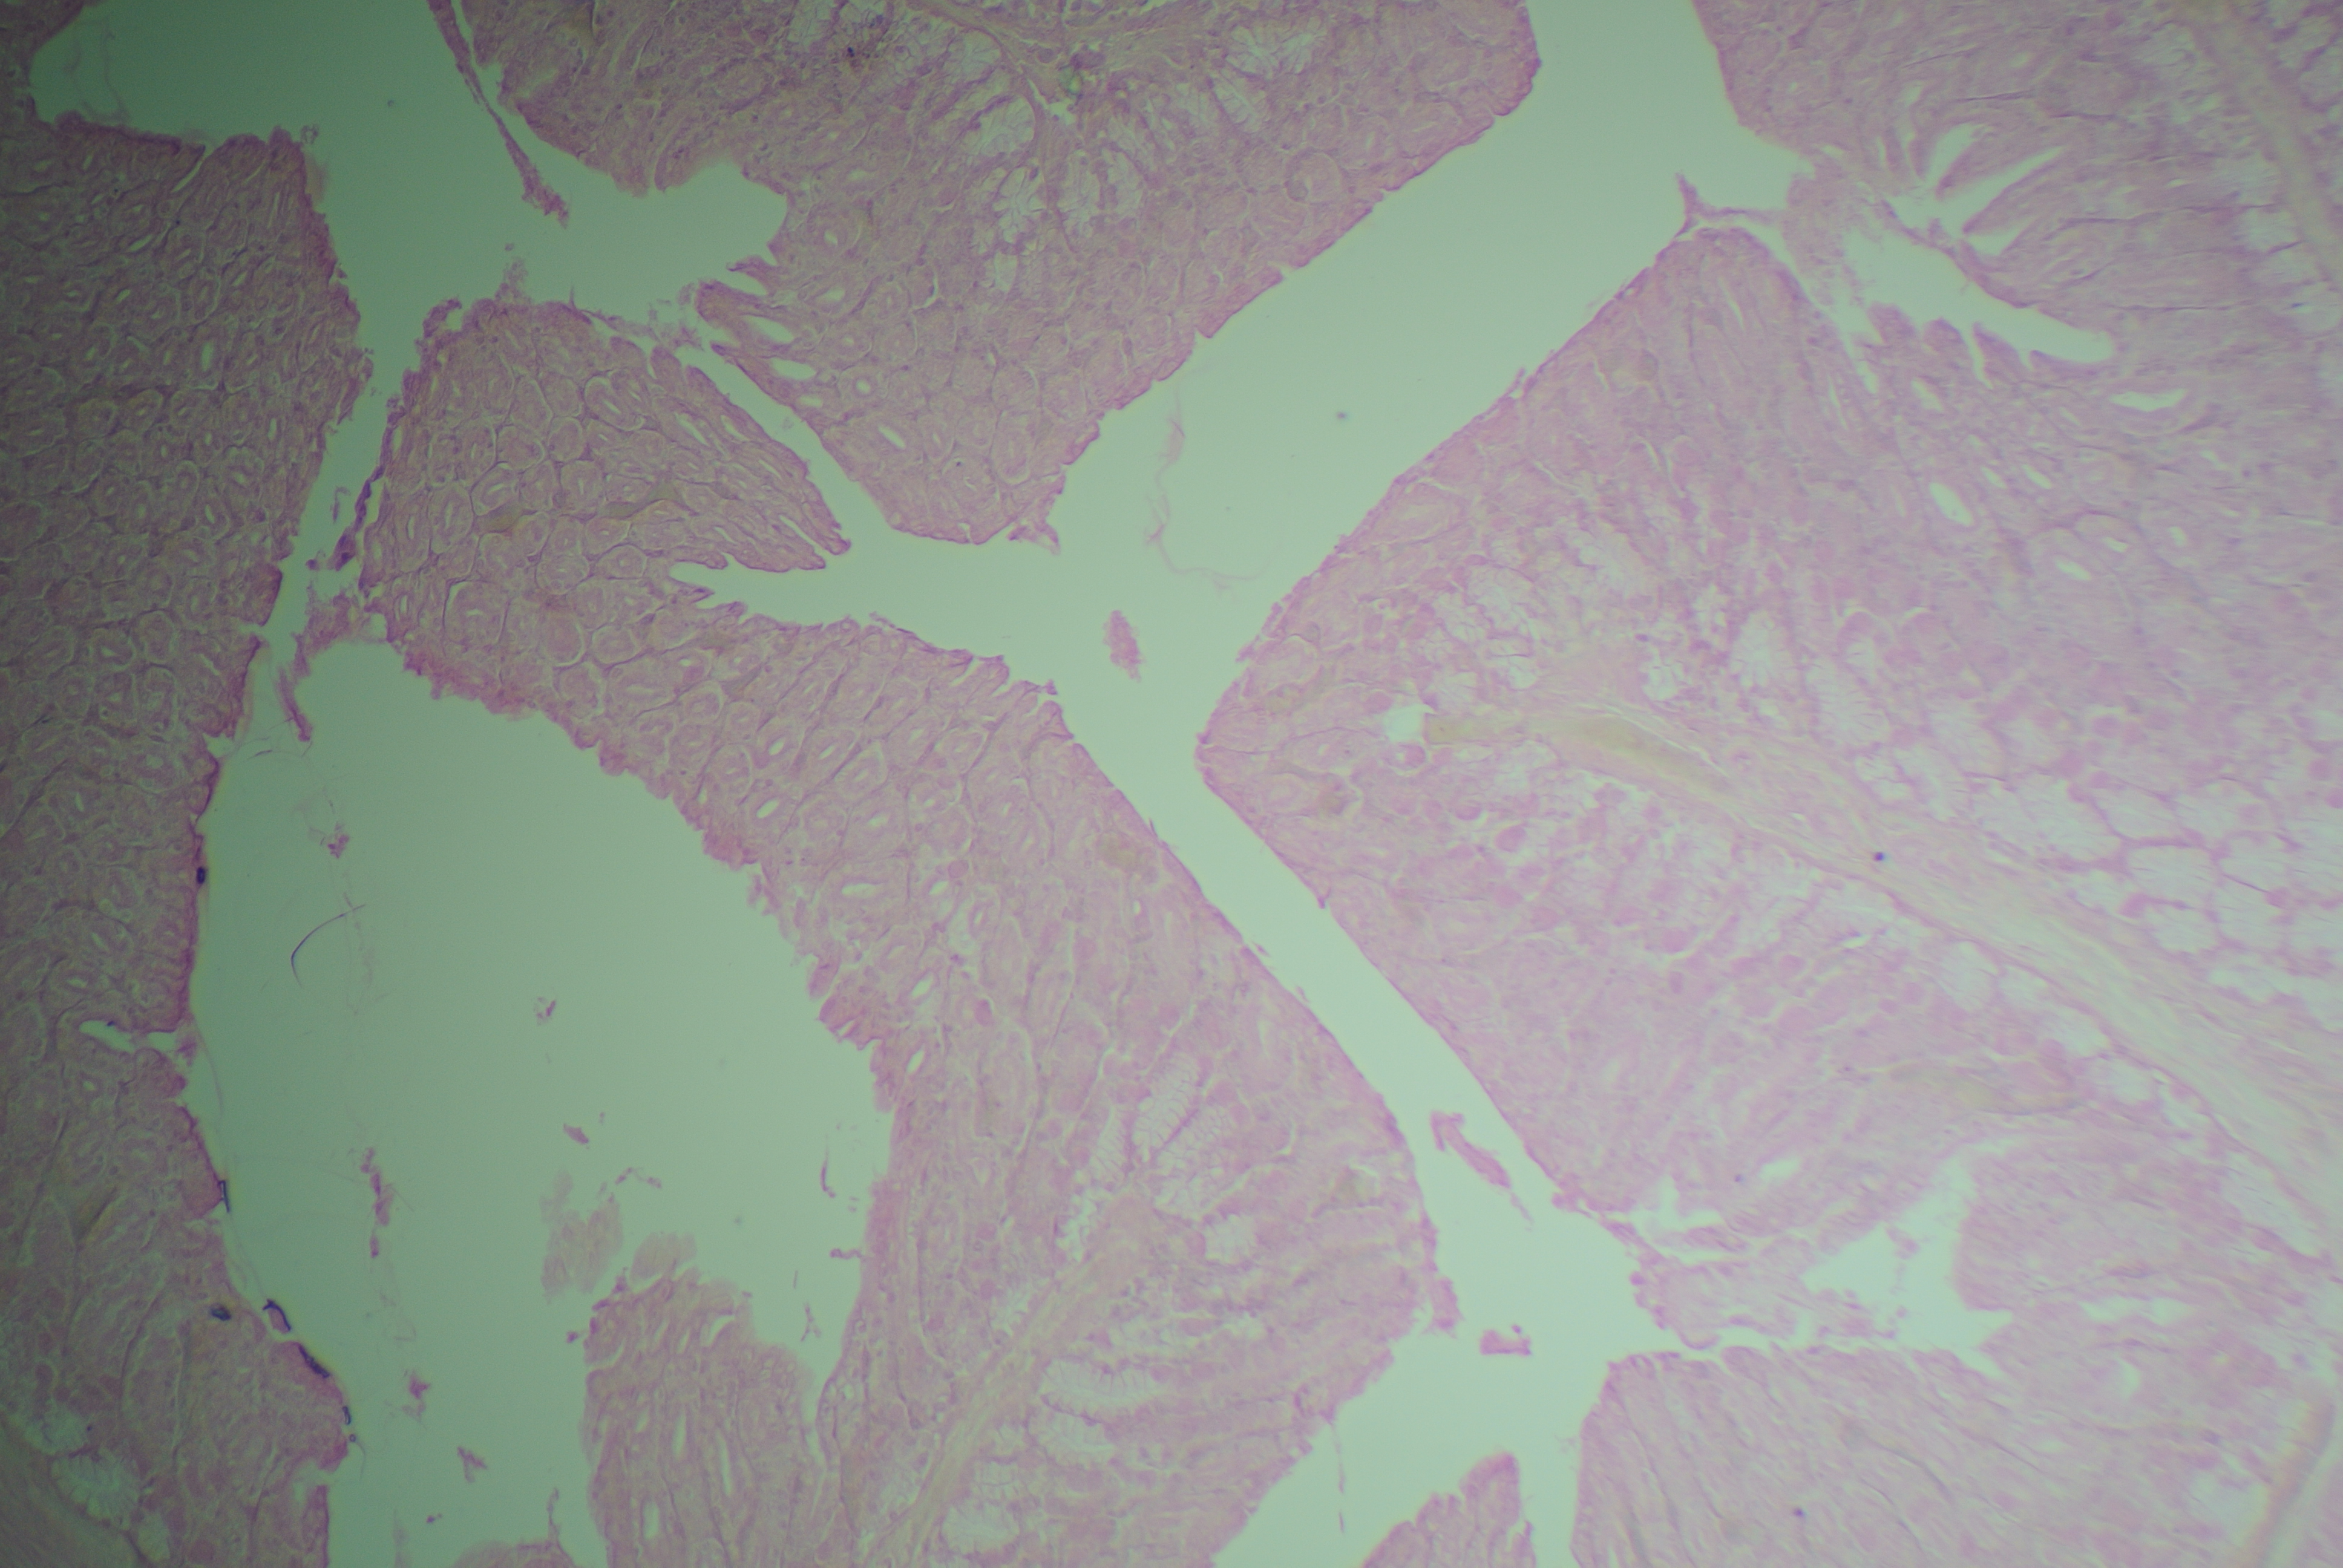
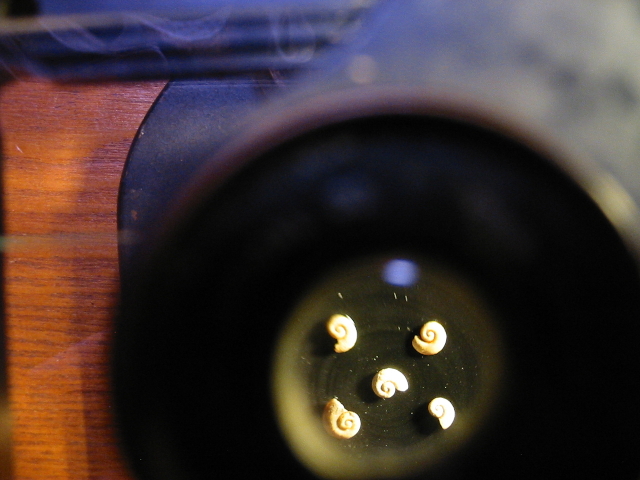
At low power (10x Plan-Achro objective) with the BalPlan.
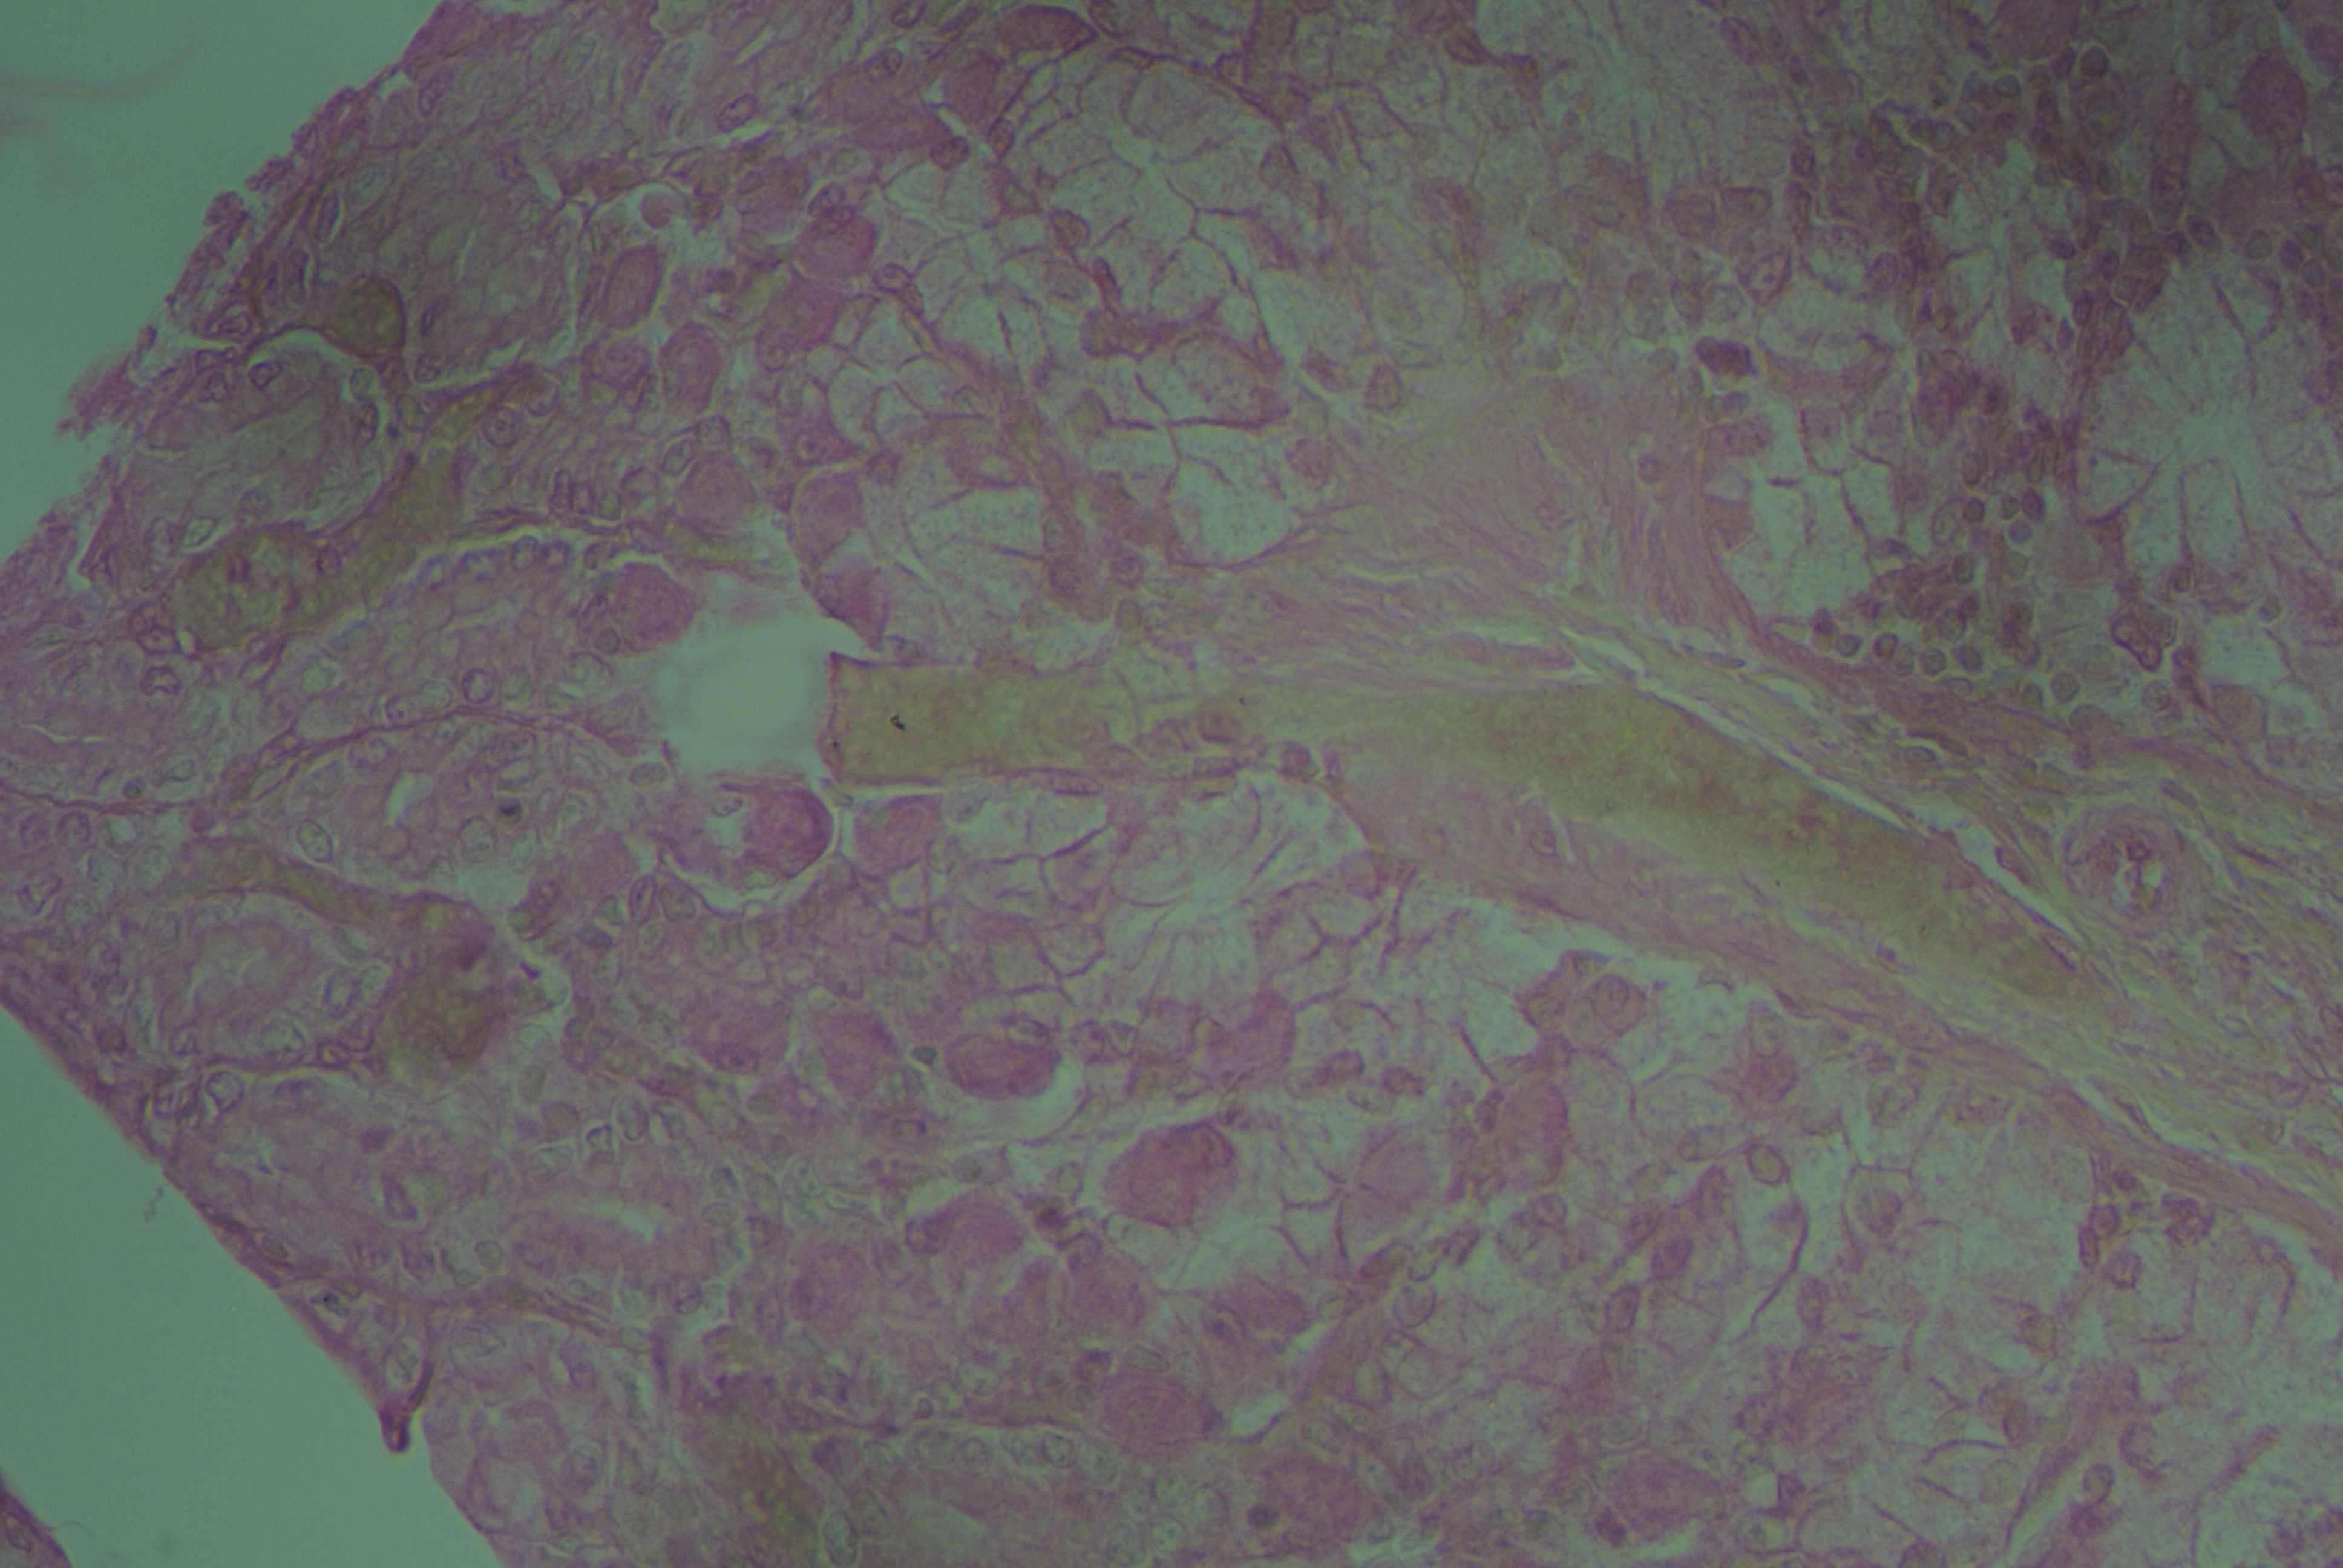
High-dry (43x Plan-Achro objective) with the BalPlan.
Notes:
∗Correction collars and draw tubes not withstanding most manufactures correct for a particular cover glass thickness across their entire line, in perpetuity. Bausch & Lomb has corrected their objectives for .18mm (#2 gauge) from the first and (considering that a variation of as little as .03mm in thickness will require an adjustment of the draw tube of 30mm) one would do well to gauge their cover slips before use.
†It is my considered opinion that in no case is it better to use too little mountant, err on the side of caution but do not drive to excess.
Once again an excessively long post, sorry for that. Next time I’ll try something shorter, I swear! -K